Capstone Update January 18, 2019
Greetings,
Today we worked with a device from Microsoft called the MXChip IoT DevKit.

1. Download Arduino IDE, Visual Studio Code and ST-Link/V2 and install.


2. After entering Visual Studio Code, we need to download the Arduino and Azure IoT Tools add on to program them by going to the marketplace on the left hand side. We can enter Arduino and Azure IoT tools into the search bar to find them and install them.

3. After installing them, at the top right corner, go to File > Preferences > Settings and in the search bar, enter settings.json. After locating settings.json open it and enter the following
"arduino.path": "C:\\Program Files (86x)\\Arduino",
"arduino.additionalUrls": "https://raw.githubusercontent.com/VSChina/azureiotdevkit_tools/master/package_azureboard_index.json"
If any of the lines of code are already in settings.json you do not need to add them again. The
"C://Program Files (86x)\\Arduino" is our pathway to Arduino keep in mind, yours may be different, adjust accordingly. Then right click user settings on the right hand and click save.
4. Next, press F1 on your keyboard to open the command palette, here we search for Arduino: Board Manager and select it. Then search AZ3166 and install the latest version.

5. To connect the board to Wifi, hold down button B and press and release reset then release button B. This will put the board into AP mode.
6. Using a web browser, on a WiFi enabled device connect to the SSID displayed on the board LCD and enter the IP address 192.168.0.1 into the browser. It will prompt for a login and there is no password.
7. Then, select the Wifi network you want and connect to it. The board will reboot and connect to the new assigned Wifi.
8. Once the above steps are completed we can build a project, we built the get started project. To program the MXChip, make sure that you connect it to the computer after you open Visual Studio Code. Press F1 and search for Azure IoT Device Workbench: Open Examples and select IoT DevKit as the board.
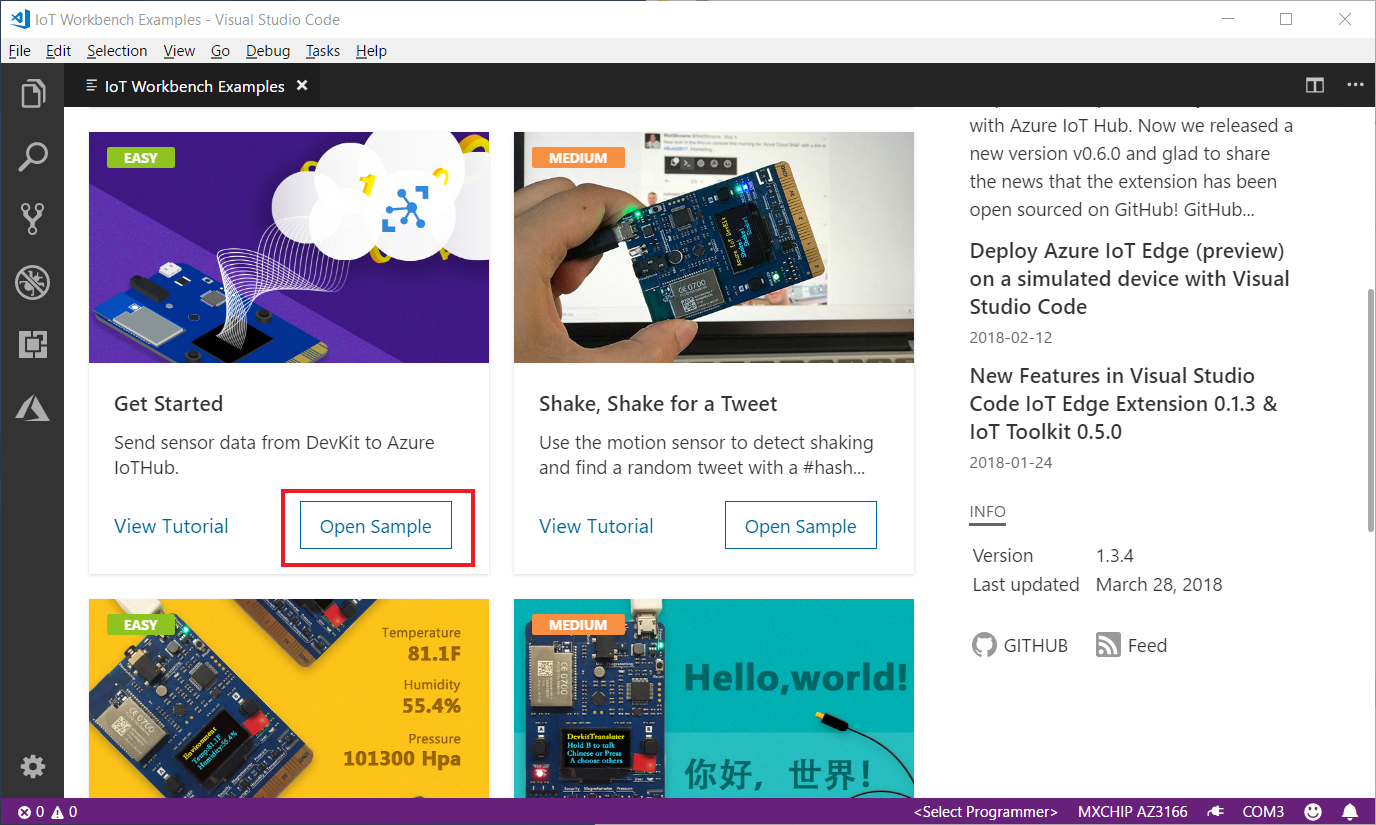
9. After Workbench examples open, click Open Sample for Get Started.
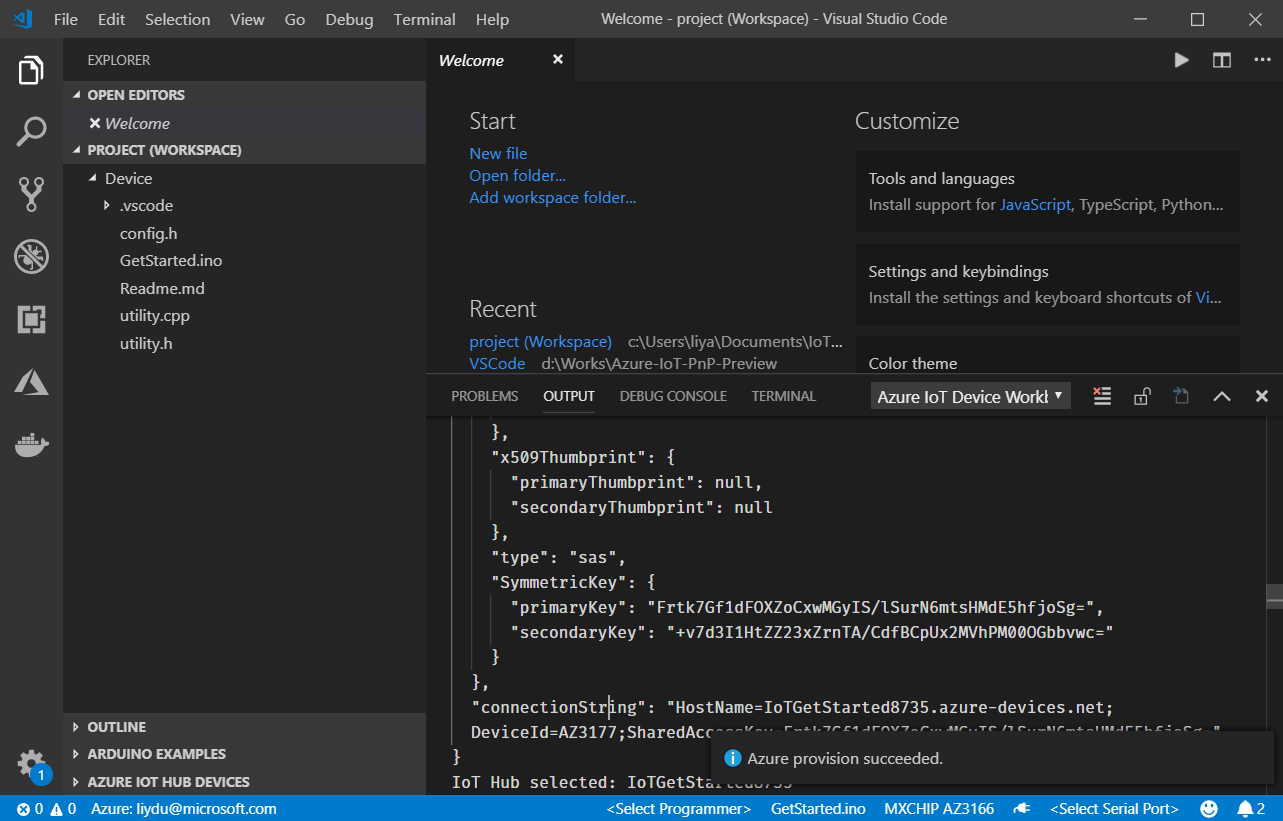
10. Once the project has been opened, press F1 and search for Azure IoT Device Workbench: Provision Azure Services and follow the steps to complete setting up an IoT Hub and Device. Keep in mind the Device ID must match your MXChip device ID.
11. Go to the bottom right status bar and check that the MXCHIP AZ3166 is the selected board, then click Select Serial Port and choose the port with STMicroelectronics.
12. Then, press F1 and search Azure IoT Device Workbench: Configure Device Settings, then select Config Device Connection String and finally select Select IoT Hub Device Connection String. A success message should pop up at the bottom right.
13. Go to the MXChip board and hold button A and press and release reset and then release A, this puts the board into configuration mode. Once again, a success message should pop up at the bottom right.
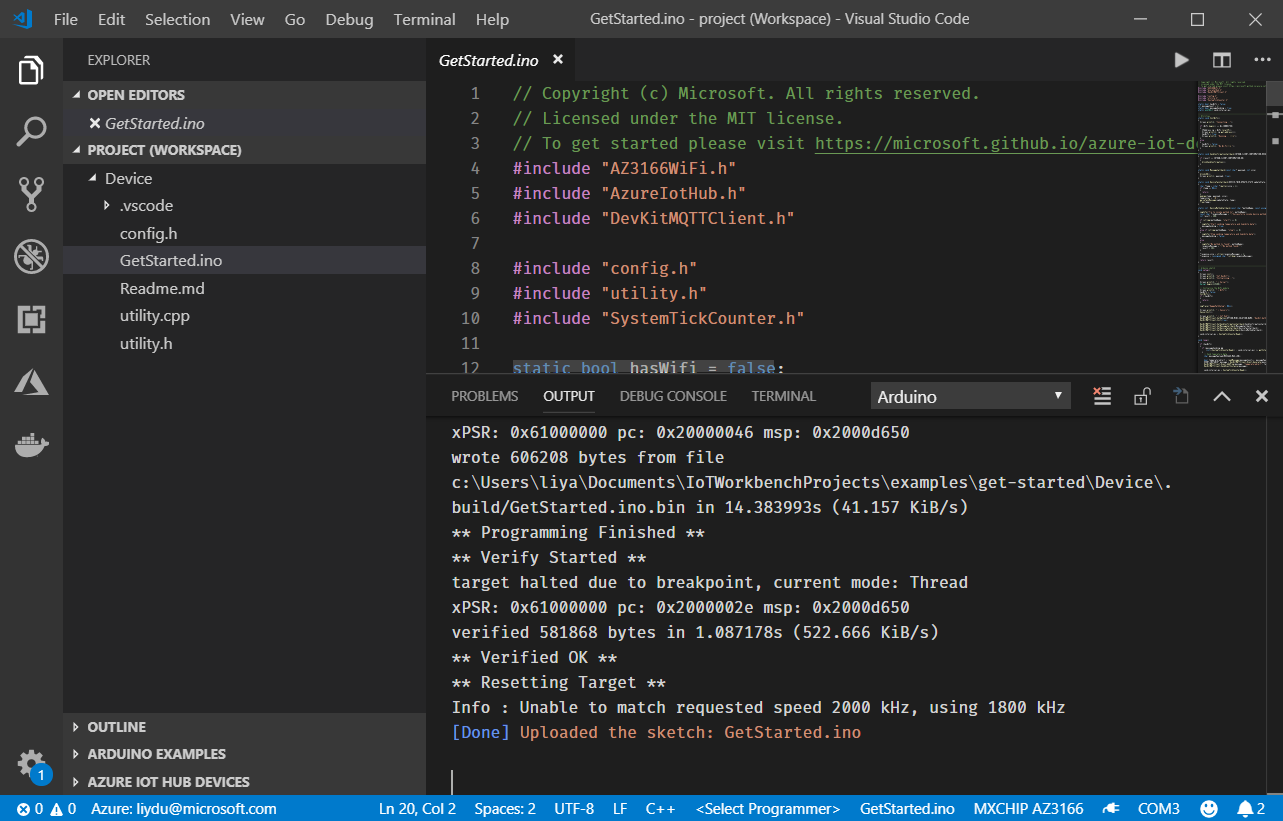
14. Once the above are completed, press F1 and search Azure IoT Device Workbench: Upload Device Code. This will compile and upload your code to the MXChip board. You should get a Uploaded the sketch: GetStarted.ino message.

15. Once uploaded click the plug symbol at the bottom right, this will open serial communications with the board. You will also get a message stating that the Serial Port is open.

If the application runs successfully you will get messages like the picture above. For the source of the original guide, you may find it here.
After we set up the board, we created a cloud server on Microsoft Azure. The server hosts a SQL database that is 250 GB.


Great summary of how to work with the NXchip.
ReplyDeleteI plan on purchasing a few more and set 1 up in each lab to monitor temp, hum, lux, and motion.
We can use the student Azure subscription for 1 year free.